Birds of a feather truly do stick together. That’s why it can be a challenging task to bring new birds into your established flock – new flock members often get picked on and harassed by hens who don’t want to share their territory. For a seamless integration of new birds into your flock, there are a couple of tricks that work well. All you need is patience – and some ninja-like moves.
To start with you want to make sure that your coop/run setup is large enough to accommodate the new birds that you are adding. Each adult bird will need 3-4 square feet of space. If bringing in birds from another flock, make sure they have been through a quarantine period of at least 30 days and are healthy.
Keeping new birds in a cage will let them interact with the flock without being harmed.
You’ll want to introduce birds to each other gradually and let them interact without the opportunity of pecking or abuse. To do this, place your new birds inside the run or coop in an area where they can see and get to know each other but where they are still separated. A wire cage works well, but you can also put new birds into a dog crate or use chicken wire to fence off a portion of the area and make two separate spaces.
If introducing new chicks to your flock, you’ll want to make sure they are fully feathered and acclimated to the coop temperature. You want to keep new birds in their own area and let everyone get to know each other for at least two weeks. Patience is key here, so don’t rush the “getting to know you” phase.
The ninja moves come into play when it is time to introduce the new birds into the existing flock. Wait until night, when it’s dark and all birds are sleeping comfortably. Moving quickly and quietly, you want to take the new birds from their resting spot and put them on the roosts next to your other sleeping birds. When the birds wake up in the morning they are next to another hen that they are familiar with (because they’ve been in close proximity, although separate areas, for several weeks) and they are often tricked into thinking that they’ve always been together.
You’ll want to carefully monitor the everyone during the next week while the pecking order is reorganized, but this approach should give you a fairly seamless merging of your flock.
Timing is everything when it comes to feeding your laying hens. Ensuring they have the correct nutrition at just the right time is an important part of having a happy and healthy flock.
Hatch to approximately week 6: Provide free choice access to a quality chick starter ration and make fresh clean water available at all times. Proper nutrition in this critical growth stage will impact the performance of the chicken for their entire lifespan. Use a heat lamp to keep birds warm and provide 1 sq. foot per chick.
Approximately 6 weeks to 16 weeks: Continue to provide free choice access to chick starter and water. If you choose to feed treats (scratch grains, kitchen scraps, etc.), put out what birds will consume in about 15 minutes once per day. This a good guide to follow to make sure treats don’t exceed 15% of the total diet. Add treats only after week 6. If birds have access to anything other than a crumble or pellet, provide grit free choice in a seperate feeder.
16 weeks +: Now is the time to switch to layer feed! Provide layer pellets or layer crumbles and grit free choice along with access to fresh clean water at all times. Treats can be provided at no more than 15% of the diet. At this point it is also important to make oyster shell available free choice to provide supplemental calcium for hard-shelled eggs. Adult birds require approximately 3-4 sq. feet of space per bird in the coop; you also need to plan on one nesting box for every 4-5 hens.
Backyard Chickens I liked this idea to help with easier cleanup- where they put shallow wide containers to hold the chicken poop and containers for the nesting areas.
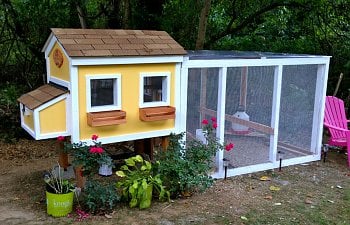
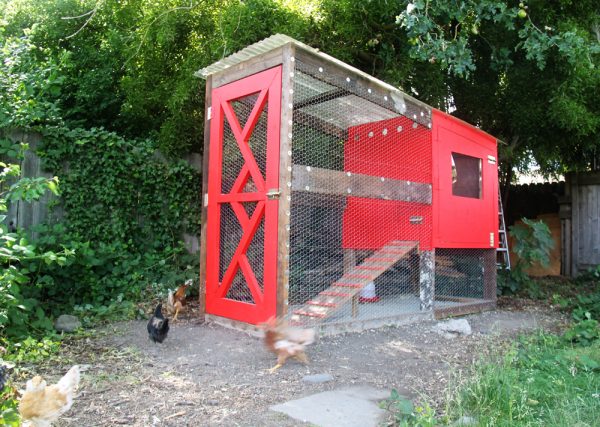
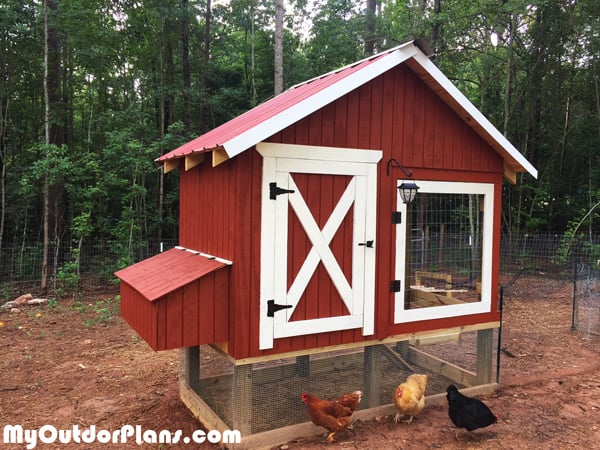
The Coop-est The Coop is 3x4 FT The Nesting Box 1x2 FT The Legs are 2ft The Pen is 8x5x5 FT
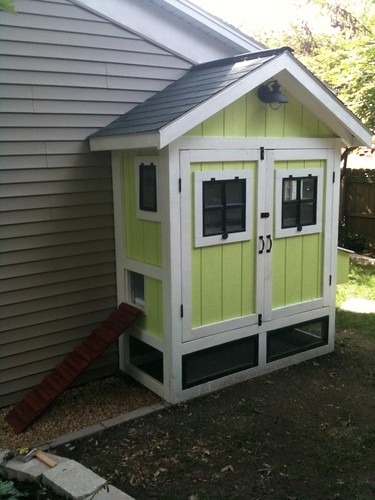
Coop 4 the coop itself will be 6' long, 3' deep and 6' tall (minus the peak) Trictles Coop 4ft x 4ft